Pinch and Touch and Hold
Two gestures carry a lot of the day-to-day work in 2Do: a pinch that decides how much each row tells you, and a touch and hold that puts every task command a thumb's reach away.
Pinch to Change the Display Mode
Pinch the task list with two fingers. Pinching inward shows less per task and fits more on screen; pinching outward shows more. An overlay names the mode as you go, and the setting applies to your task list everywhere.
| Mode | What each row shows |
|---|---|
| Compressed | Titles & Dates |
| Normal | Titles, Notes & Dates |
| Extended | Multi-line Titles, Tags, Notes & Dates |
Use Compressed for lists you scan quickly, such as an inbox or a shopping list, and Extended for lists where context matters, such as a project you are working through.
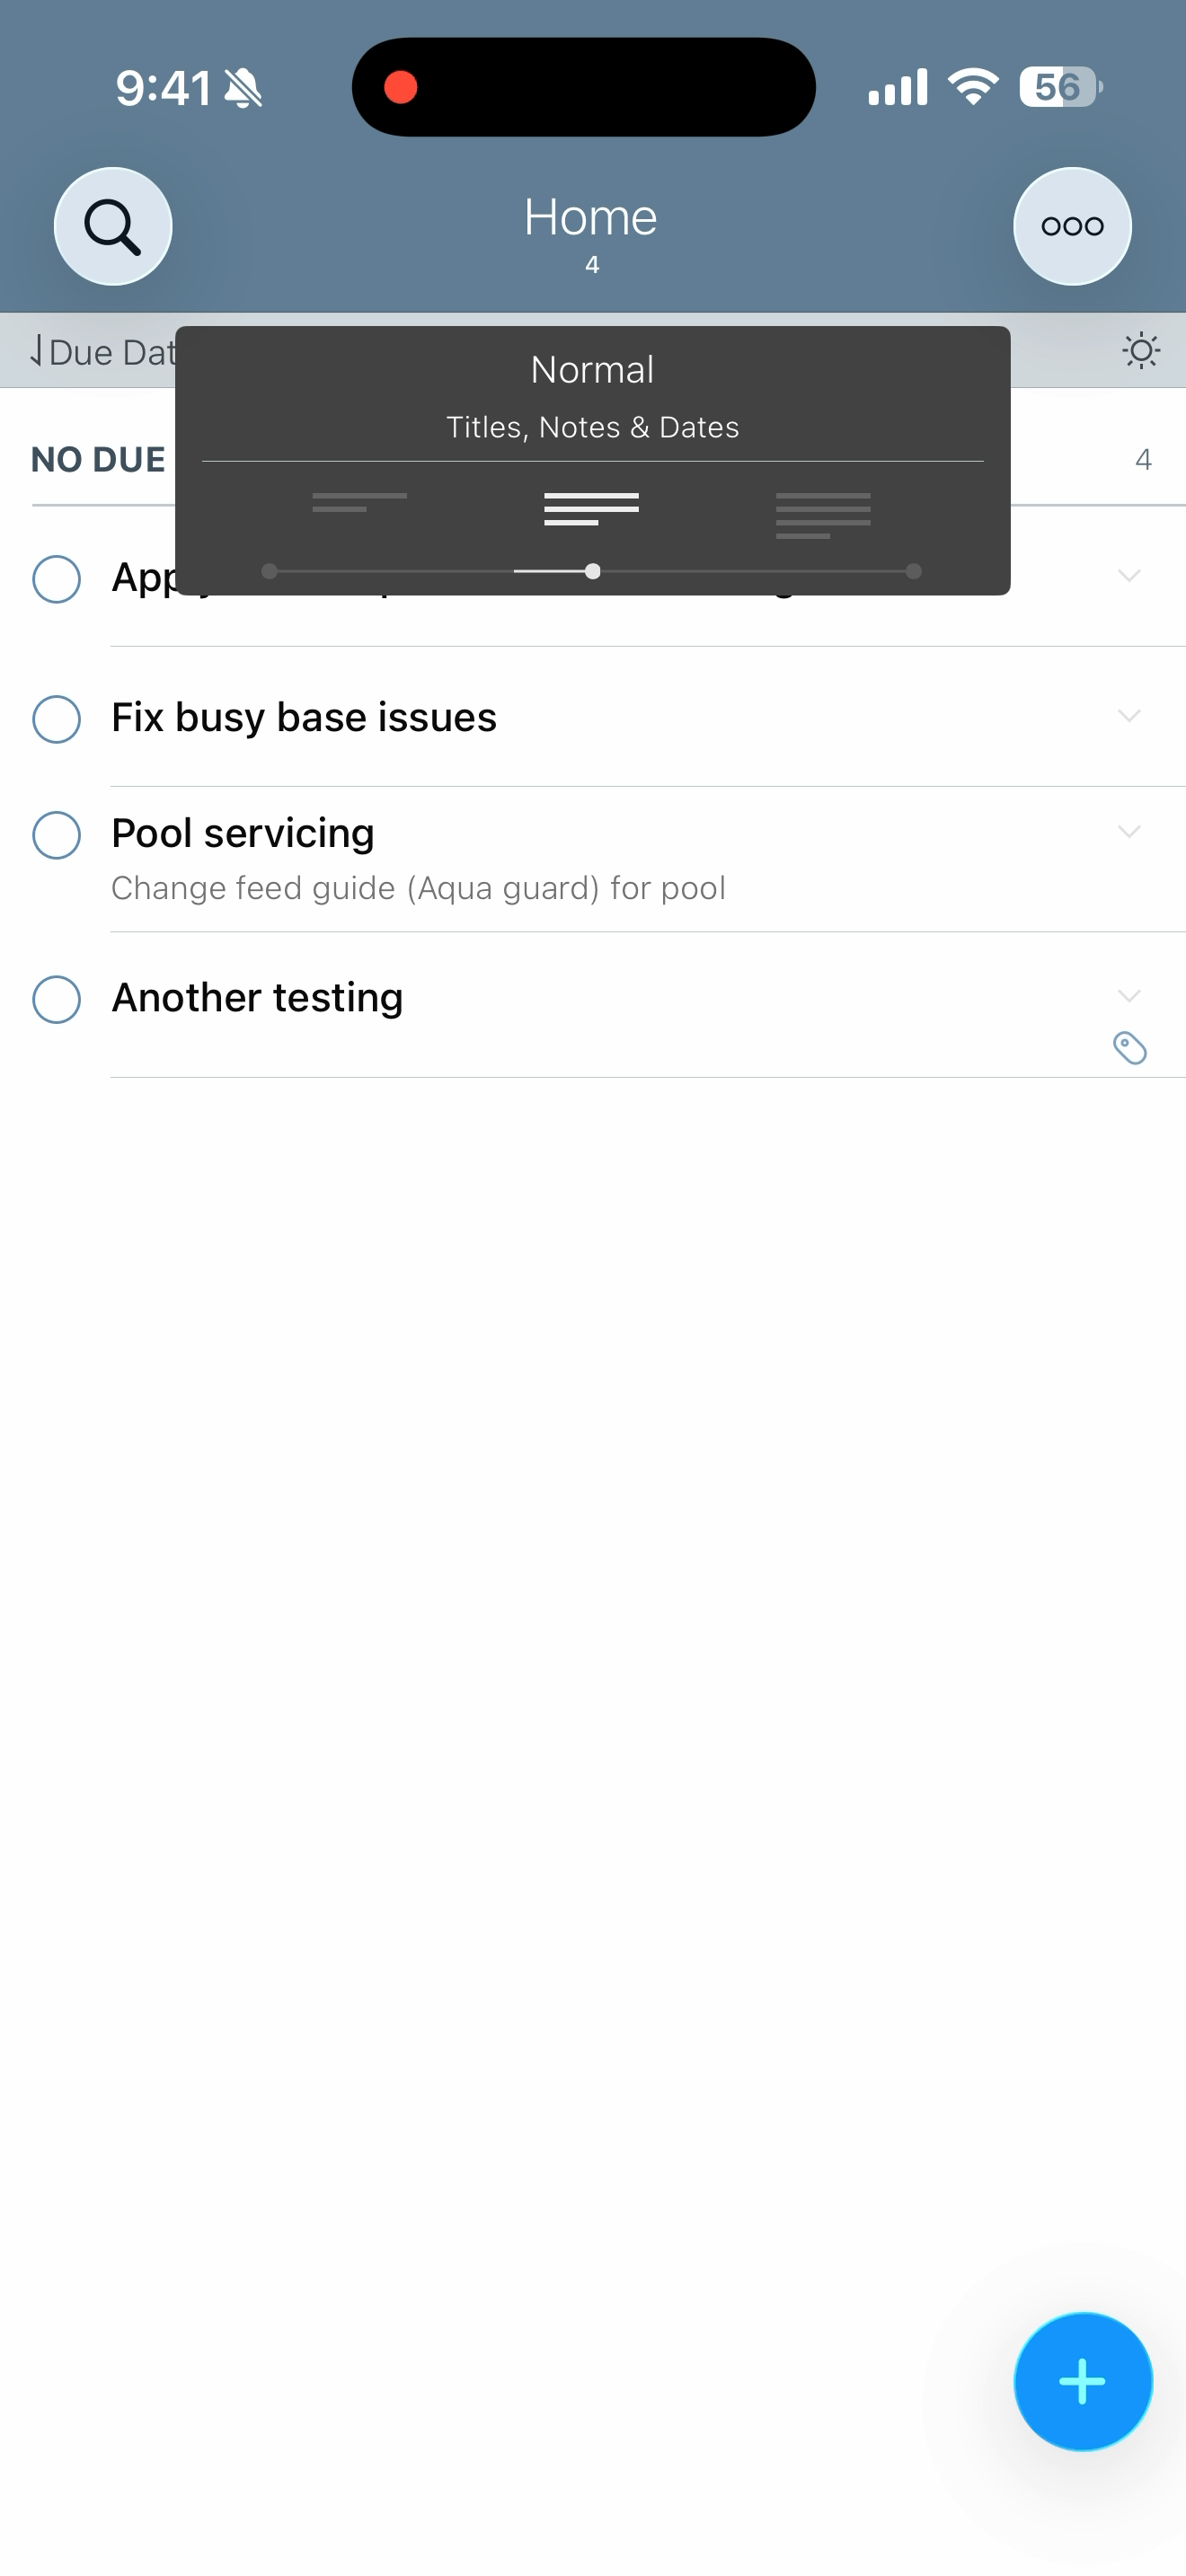
The same three modes are available under Settings > Appearance > Display > Display Mode, and, with a hardware keyboard attached, from the View > Display Mode menu.
Two related settings sit beside it under Settings > Appearance > Display:
- Bolder Task Titles gives titles more weight.
- Multiline Titles lets a long title wrap onto a second line in the Normal display mode.
Pinch outward on lists where context matters and inward on lists you scan quickly. The mode you land on is the one you will read your tasks in all day, so it is worth a moment.
Expanding a Single Row
Changing the display mode affects the whole list. To open up just one task, tap the control at the trailing end of its row. The row expands in place and a strip appears beneath it with None, Low, Medium, and High priority, plus the star.
That makes triage quick: run down a freshly captured list, expand each row, set its priority, and move on without opening a single editor. To do the same for a whole selection in one go, see Auto-Prioritize. An expanded row also shows the color band of the list it belongs to, which helps when several lists are shown together in All or Today.
Task type conversion is not offered in this strip. To turn a task into a project or a checklist, touch and hold it and use Convert.
Touch and Hold a Task
Touch and hold any task and its full menu opens. It is long enough to scroll on smaller screens, and it is grouped so the commands you reach for most are nearest.
- Details, the task's action if it has one, and Delete in a row at the top.
- Open in List... when you are looking at the task somewhere other than its own list.
- Two rows of date buttons. The first row, with calendar icons, sets the Due Date: Today, Tomorrow, No Date, Pick for a specific date, and Defer for a relative shift. The second row, with play icons, sets the Start Date: Today, Tomorrow, No Date, Pick, and Schedule. See Schedule vs Defer for when to use each. On a repeating task, these buttons move the next occurrence too; see Changing the Dates of a Repeating Task.
- Mark (as completed or not completed), Priority (including the star), Note, Alarm, Tag, and Attachment.
- Copy (the title, the notes, or everything, plus Duplicate), Convert to another task type, and Move to another list.
- Share.
On a read-only list, the menu shrinks to what is actually possible: details, the action, copy, and share.
If you only need one thing from a task, use the touch-and-hold menu rather than opening the editor. Setting a date, a priority, a tag, or an alarm from the menu keeps your place in the list.
Open in List
Open in List... appears whenever you come across a task away from the list it lives in: in a focus list such as Today, in a smart list, in search results, or in another list you are browsing. Tapping it takes you to the task's own list and pulses the row so you can see where it landed. On iPad it opens the task in the editor at the same time. If the task is a subtask, 2Do opens its parent's Project View and highlights it there.
Touch and Hold a Checkmark
Touch and hold a task's checkmark and drag down the column. 2Do enters batch editing and selects every task you pass, which is the fastest way to grab a run of tasks that sit together. See Batch Editing.
Swipes
Swipes move you between panels rather than acting on a single task:
- Swipe the task list right to reveal the lists panel.
- Swipe the task list left to reveal the utility panel on iPhone, or the editor pane and then the utility panel on iPad.
- Inside a project or checklist, pull from the leading edge of the task panel to leave Project View. A badge shows how far you have to go, and releasing past that point closes the project.
- Pull down on the task list to sync.